Blog
How to Hang Non-Woven Wallpapers: A Complete Guide for 2025

How to Hang Non-Woven Wallpapers
Non-woven wallpapers have become a leading choice in modern interior design thanks to their durability, breathability, and effortless installation. Whether you’re upgrading a feature wall or redesigning an entire room, non-woven wallpaper offers a stylish and practical solution for 2025 interiors.
In this guide, we walk you through each step of how to hang non-woven wallpapers for a flawless finish.
Why Choose Non-Woven Wallpaper?
Non-woven wallpapers are made from a blend of natural and synthetic fibers, giving them several key advantages:
- Easy Installation: The adhesive is applied directly to the wall — no soaking or pre-pasting.
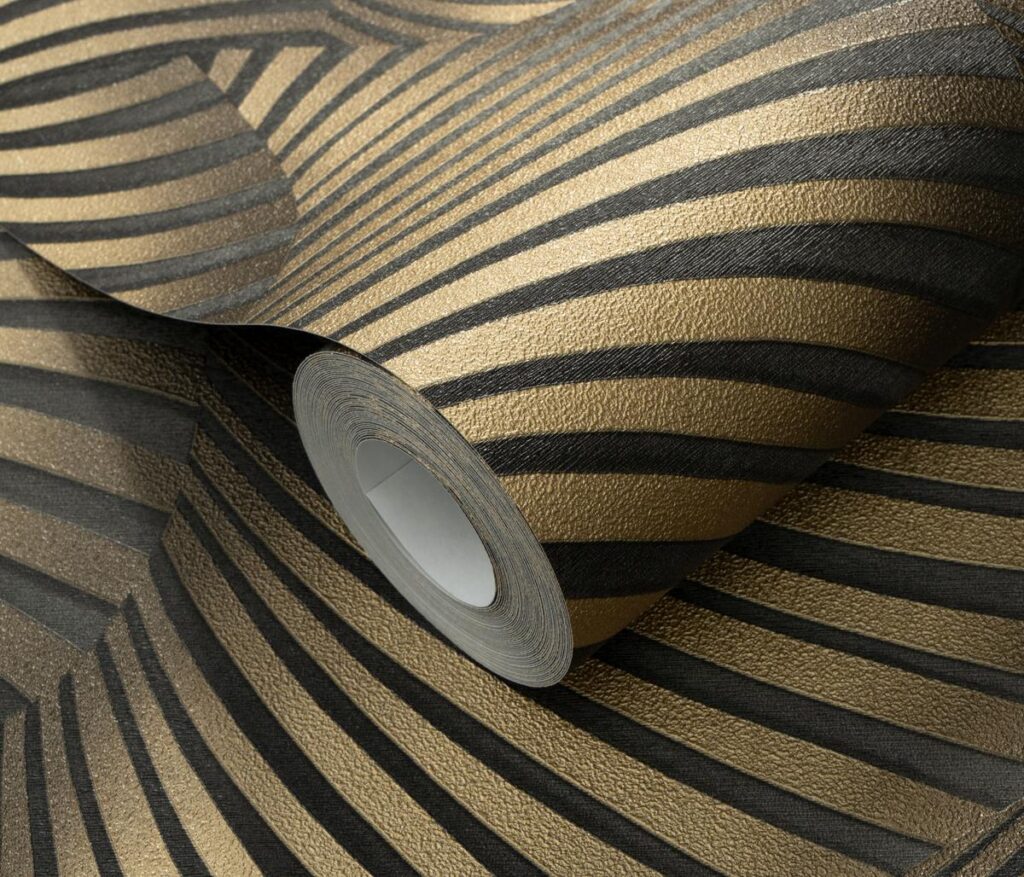
- Tear Resistant: Strong fibers ensure a smooth application and long-lasting durability.
- Removable: Strips off easily without damaging the wall.
- Breathable: Prevents moisture buildup and mold formation.
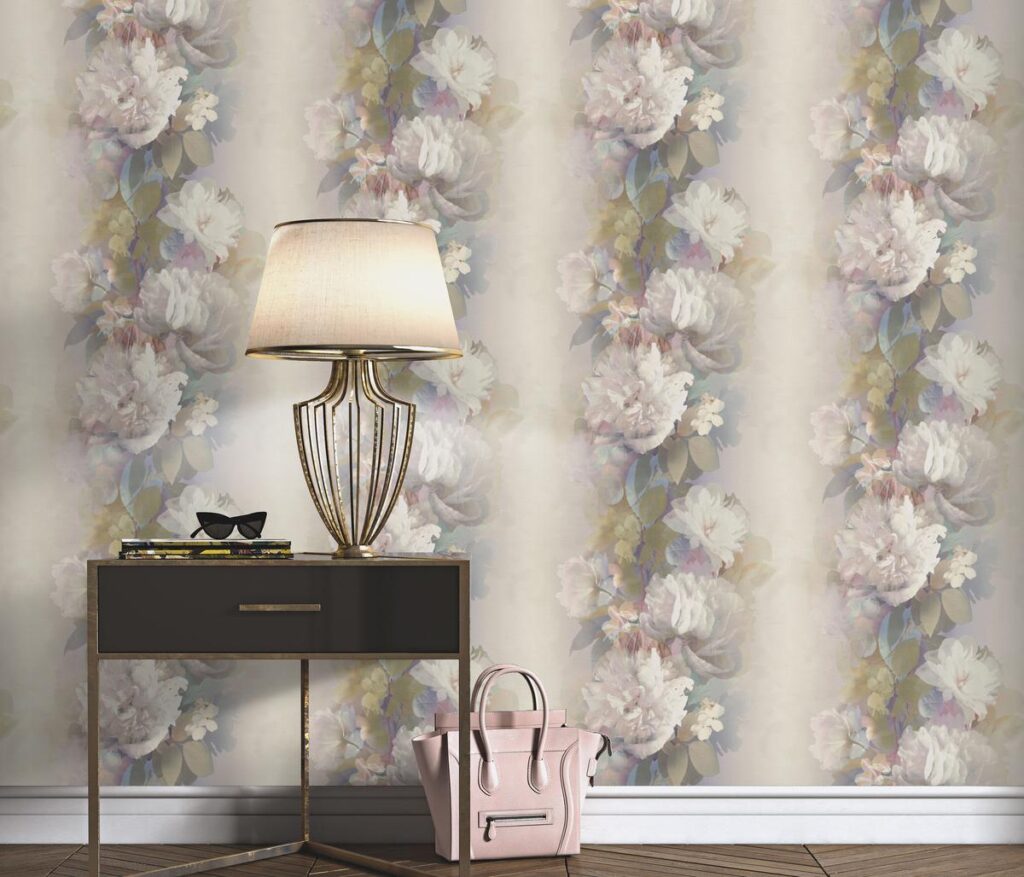
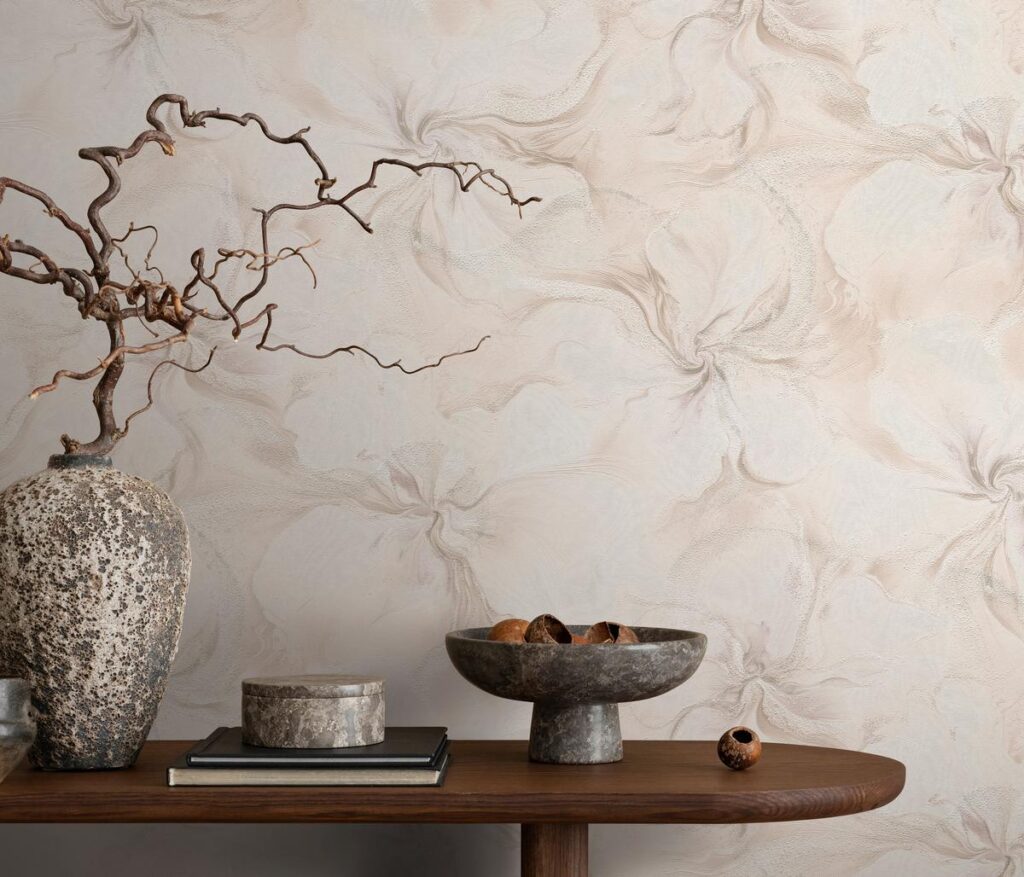
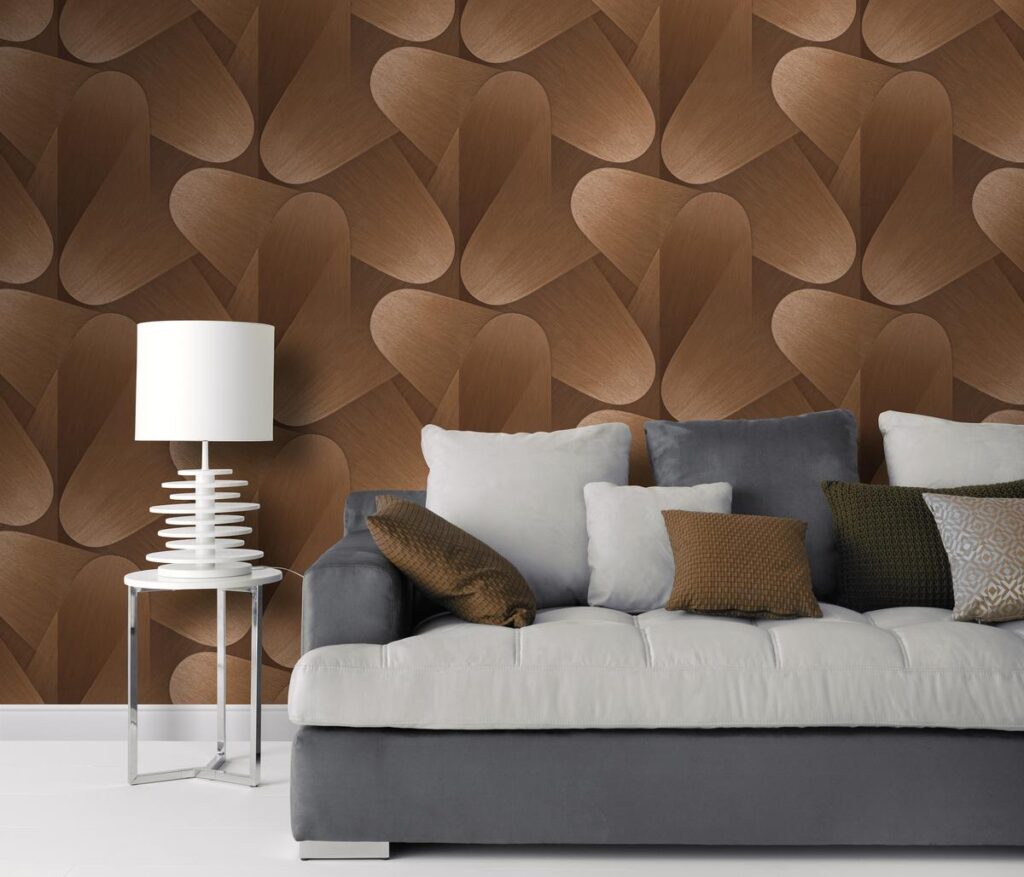
- Premium Finish: Ideal for luxurious and modern interiors.
Tools and Materials You Need
Before installing the wallpaper, prepare the following tools:
- Non-woven wallpaper rolls
- Wallpaper adhesive for non-woven materials
- Roller or brush for applying paste
- Utility knife with sharp blades
- Smoothing tool or spatula
- Measuring tape and spirit level
- Pencil
- Clean cloth or sponge
- Step ladder
Step-by-Step Guide to Hanging Non-Woven Wallpaper
1. Prepare the Walls
Proper preparation ensures the best results:
- Remove old wallpaper completely.
- Fill cracks and smooth uneven areas.
- Clean the wall from dust and grease.
- Apply primer if the wall is highly absorbent or has strong color contrast.
Your wall should be smooth, clean, and dry before you begin.
2. Measure and Mark the First Strip
The first strip determines the precision of the entire installation:
- Use a spirit level to draw a straight vertical line.
- Mark the width of the wallpaper strip.
- Ensure absolute accuracy to avoid slanted walls.
This step is crucial for a clean and professional look.
3. Apply the Adhesive to the Wall
This is what makes non-woven wallpaper so easy:
- Apply adhesive directly to the wall using a roller or brush.
- Work in sections to prevent the paste from drying.
- Spread the glue slightly wider than the width of one strip.
Make sure the glue is evenly distributed without dry spots.
4. Hang the First Strip
Now the actual installation begins:
- Press the dry strip onto the glued wall.
- Align it with your vertical guideline.
- Smooth it from top to bottom and center to edges.
- Remove bubbles using a smoothing tool.
Trim excess wallpaper along the ceiling and skirting using a sharp knife.
5. Continue With the Next Strips
Once the first strip is aligned perfectly, continue with the next ones:
- Place each new strip edge-to-edge, not overlapping.
- Match the pattern if your wallpaper has a design.
- Smooth and trim each strip carefully.
6. Final Cleaning and Drying
After hanging all strips:
- Wipe off excess glue with a damp cloth.
- Check the seams for proper adhesion.
- Let the wallpaper dry naturally — avoid drafts and direct heat.
Tips for a Professional Finish
- Use only adhesive made for non-woven wallpaper.
- Change blades frequently to achieve clean cuts.
- Keep the room temperature consistent during installation.
- Buy an extra roll for pattern matching and safety.
Final Thoughts
Hanging non-woven wallpaper is one of the easiest and most effective ways to transform your space. With the right tools and the proper technique, you can achieve a smooth, elegant finish that lasts for years. Whether you’re updating a bedroom, living room, or office, non-woven wallpapers offer a durable and stylish solution for modern interiors.